在 Windows 上安裝並使用炫炮的終端機環境
- Kán Chúgiâu
- Technical
- July 17, 2022
目錄
繼在 Windows 上安裝 Oh My Posh 替換掉 PowerShell prompt 的樣式這篇文章之後,我想提供我個人在 Windows 的 Terminal 開發環境,也順便用來記錄終端機環境如何安裝。
以下安裝說明僅支援 Windows 10 以上的版本,包括 Windows 11。
安裝 Windows Terminal
首先安裝終端機來取代系統內建的 cmd 小黑窗或 PowerShell 5.x。
如果是使用 Windows 11 或有在使用 winget 的人,可以打開終端機輸入下列命令安裝 Windows Terminal。
winget install Microsoft.WindowsTerminal
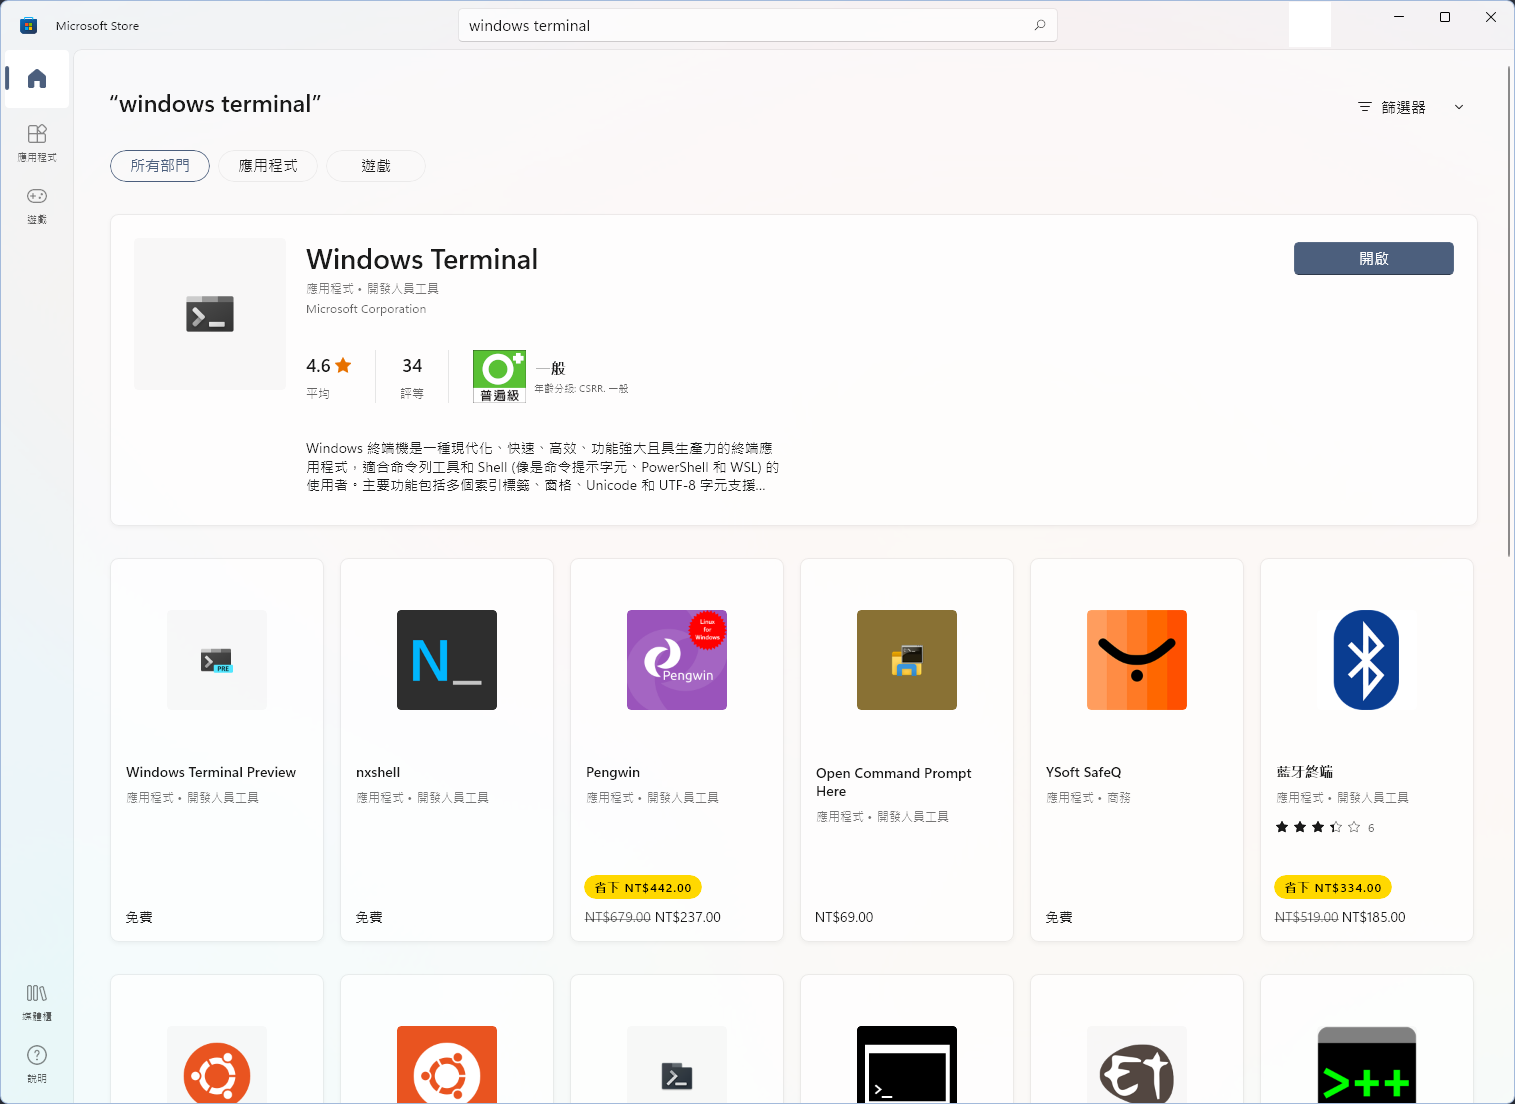
或是到 Microsoft Store 上搜尋 Windows Terminal,然後安裝:
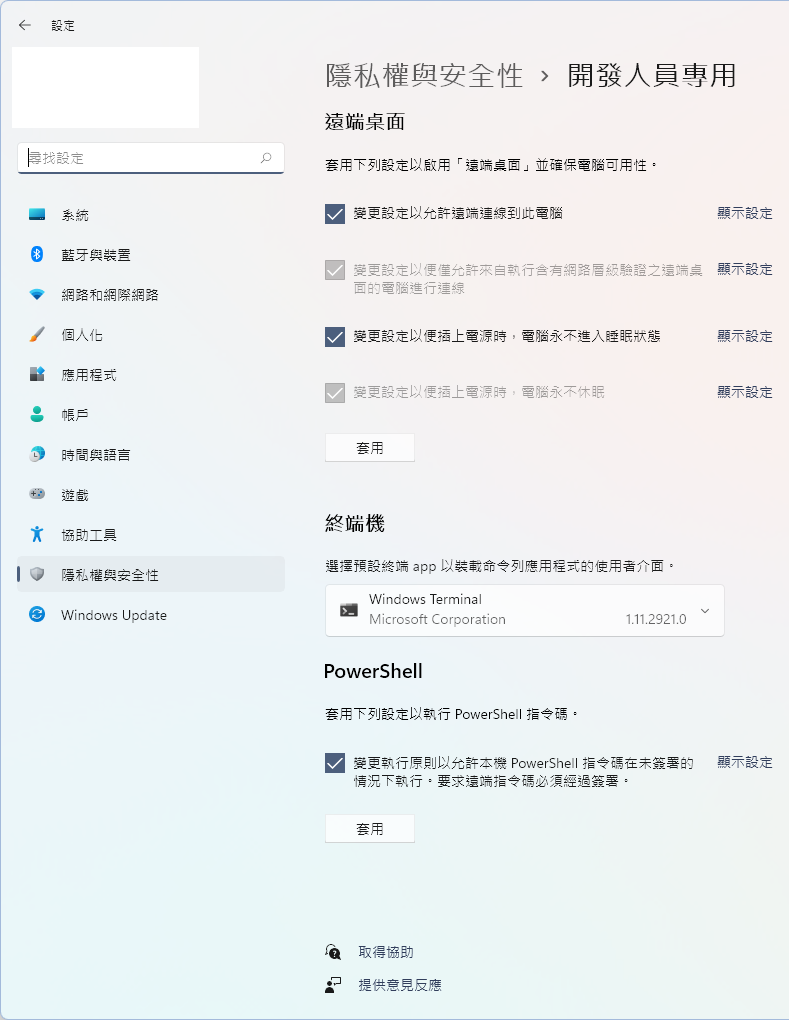
如果你是使用 Windows 11,可以確認預設終端機應用程式是否有改成 Windows Terminal:
安裝套件管理系統 (Scoop/Chocolatey/winget)
Windows 套件管理系統我到寫這篇文章時,個人偏好使用 Scoop,簡單來說,scoop 比較貼近 UNIX-like 系統的套件管理系統的使用體驗。例如 Debian-based 的 APT,macOS 的 Homebrew。
你可以選擇 Chocolatey 或 winget。順帶一提,Windows 11 已經內建 winget。
這裡以安裝 Scoop 為例,按 Scoop 官方提供的安裝方式,輸入下列命令來安裝 Scoop:
Set-ExecutionPolicy RemoteSigned -Scope CurrentUser
irm get.scoop.sh | iex
接下來的套件若未特別說明,均以 Scoop 安裝。
安裝 PowerShell 7
PowerShell 7 有別於 Windows 內建的 PowerShell 5.x (習慣使用 powershell.exe) 以下的版本,PowerShell 6.x 以上的版本為 PowerShell Core (習慣上使用 pwsh.exe 與 5.x 以下版本做區分),是新一代 PowerShell 且跨平台。但自第 7 版開始統一改叫 PowerShell 7,不再特別標示 Core 版。
透過套件管理安裝:
scoop install pwsh
Windows Terminal 新增 PowerShell 7 設定檔
如果 Windows Terminal 沒有新增 PowerShell 7 (pwsh.exe) 設定檔,則可按下列步驟新增。
- 開啟 Windows Terminal
- 按下
+圖示右邊的下拉式選單按鈕。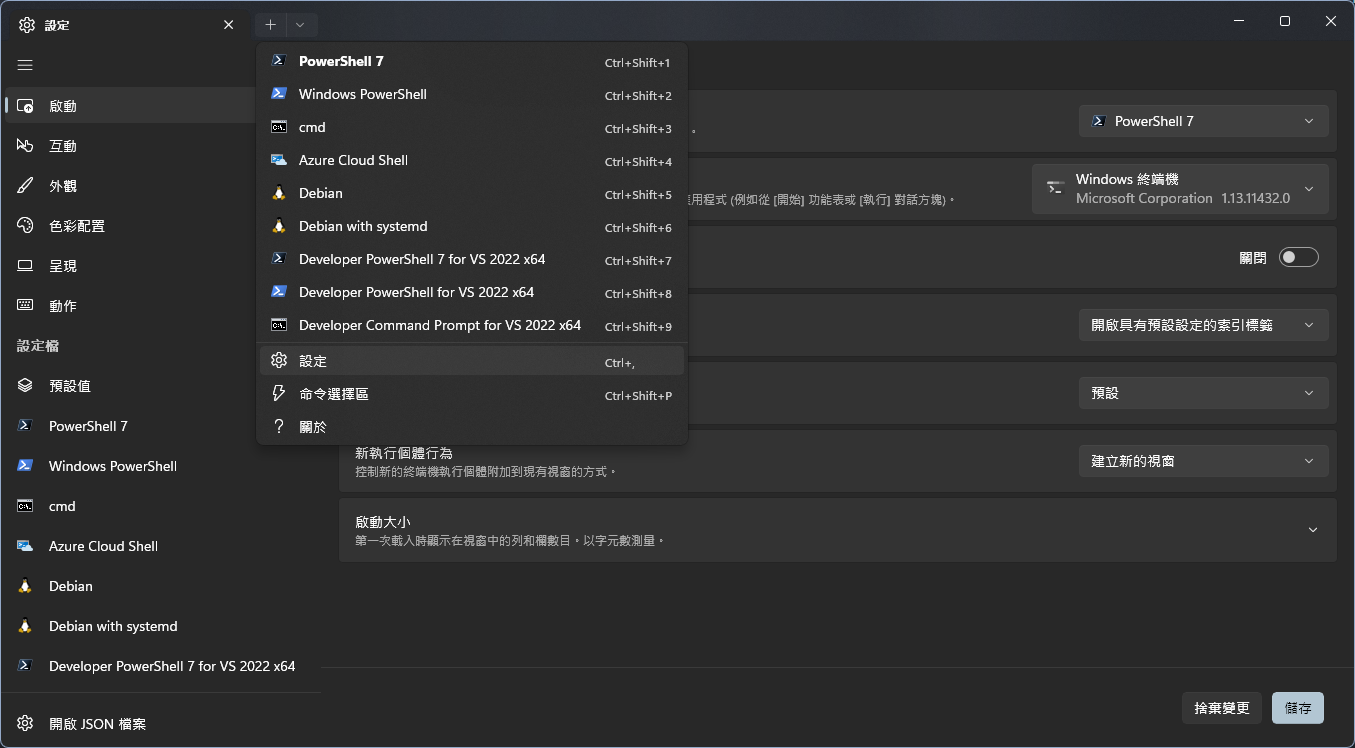
- 調整設定,將命令列欄位改成
pwsh,pwsh.exe或 PowerShell 7 的絕對路徑。 - 所有選項設定完後按下
[儲存]按鈕。 - 再次按下
+按鈕旁的下拉式選單查看有沒有剛剛新增的 PowerShell 7 設定。
關於直接修改 Windows Terminal 的 settings.json,可參考下列 JSON 設定片段新增 profile:
{
  "profiles":
  {
    "list":
    [
      {
        "background": "#2A2A2A",
        "closeOnExit": "graceful",
        "commandline": "pwsh",
        "cursorColor": "#FFFFFF",
        "guid": "{574e775e-4f2a-5b96-ac1e-a2962a402336}",
        "hidden": false,
        "historySize": 9001,
        "icon": "ms-appx:///ProfileIcons/{574e775e-4f2a-5b96-ac1e-a2962a402336}.png",
        "name": "PowerShell 7",
        "snapOnInput": true,
        "source": "Windows.Terminal.PowershellCore",
        "startingDirectory": "%USERPROFILE%"
      }
    ]
  }
}
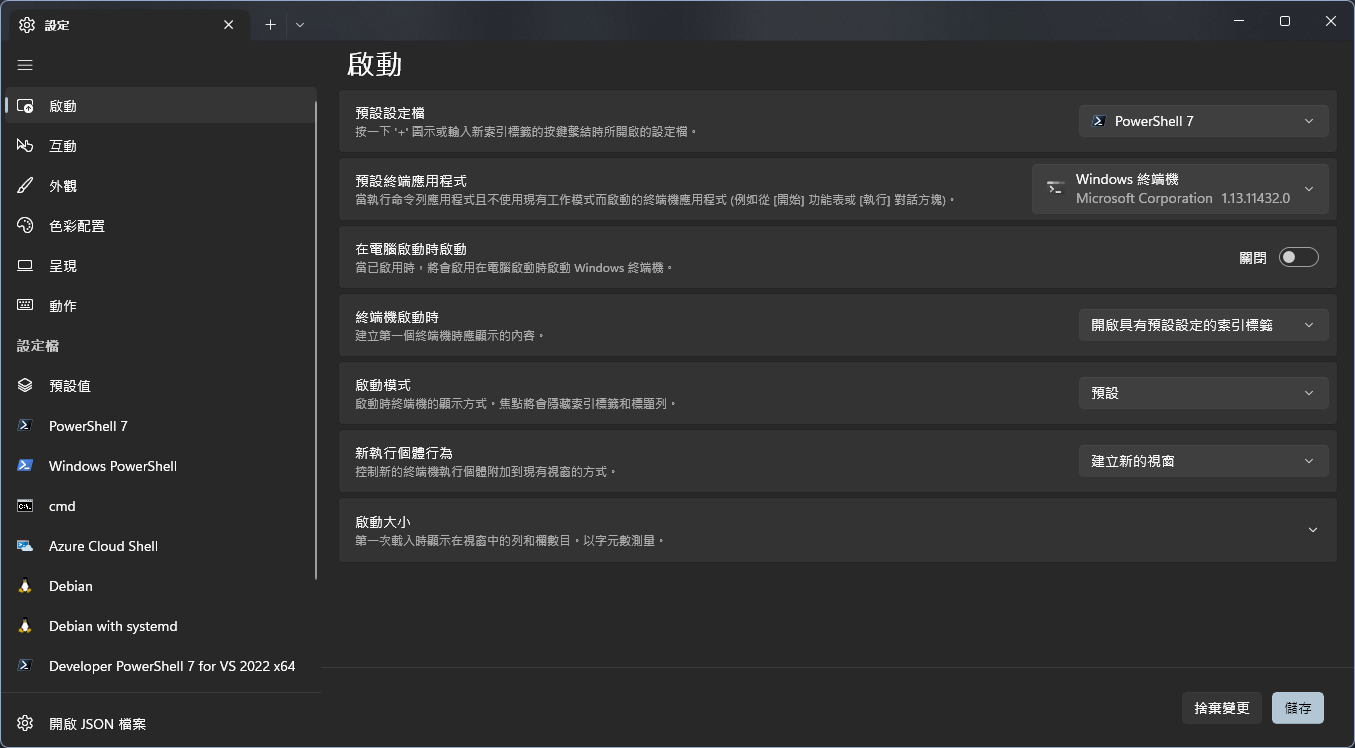
修改 Windows Terminal 的預設啟動 profile:
- 打開 Windows Terminal 設定介面,左邊清單選擇
[啟動]。 - 將
預設設定檔欄位改成剛才新增的PowerShell 7。 - 儲存。
- 按下
+按鈕或是 Windows Terminal 關掉重開看是不是啟動剛才設定的 profile。
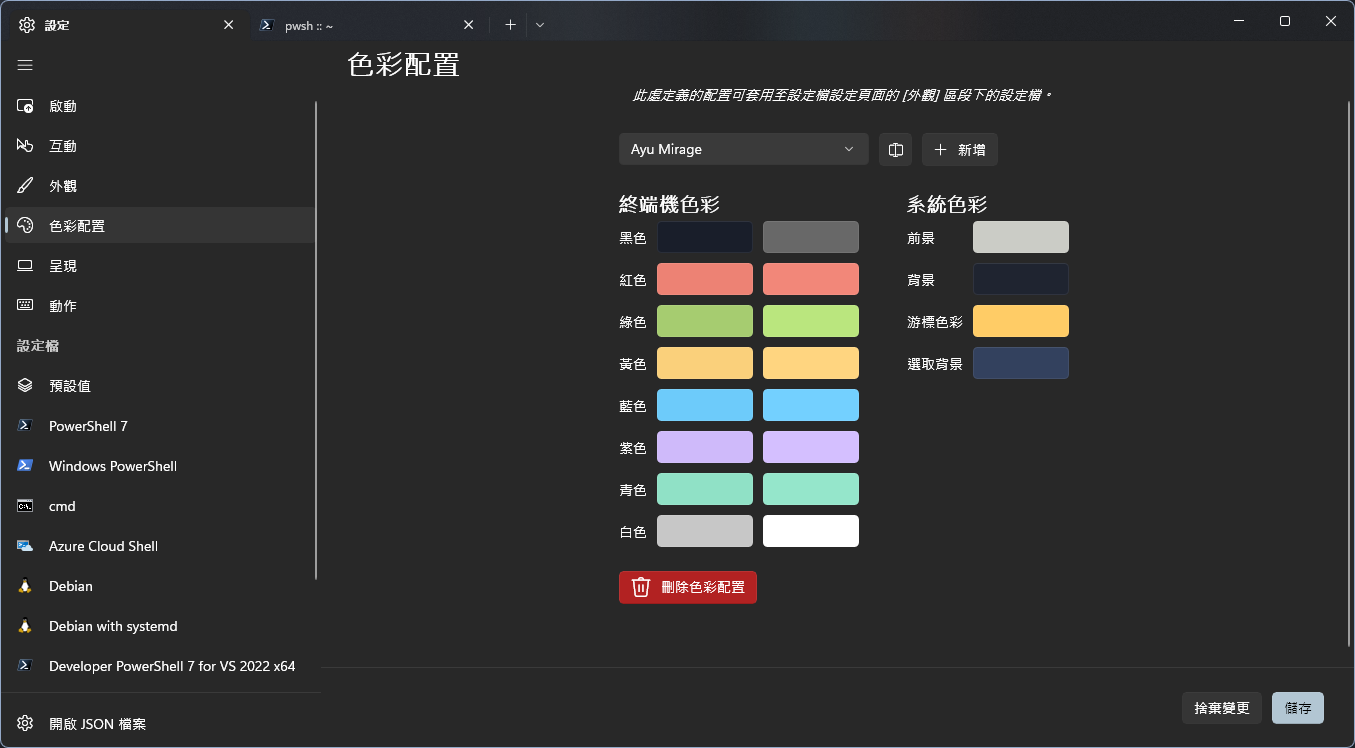
修改 Windows Terminal 配色
接著調整配色,Windows Terminal 已經內建幾款常見配色,如果覺得不夠,可以到 Windows Terminal Themes 找自己喜歡的配色,或是自己調。
例如挑 Ayu Migrate 這款配色,該 scheme 如下:
{
  "name": "Ayu Mirage",
  "black": "#191e2a",
  "red": "#ed8274",
  "green": "#a6cc70",
  "yellow": "#fad07b",
  "blue": "#6dcbfa",
  "purple": "#cfbafa",
  "cyan": "#90e1c6",
  "white": "#c7c7c7",
  "brightBlack": "#686868",
  "brightRed": "#f28779",
  "brightGreen": "#bae67e",
  "brightYellow": "#ffd580",
  "brightBlue": "#73d0ff",
  "brightPurple": "#d4bfff",
  "brightCyan": "#95e6cb",
  "brightWhite": "#ffffff",
  "background": "#1f2430",
  "foreground": "#cbccc6",
  "selectionBackground": "#33415e",
  "cursorColor": "#ffcc66"
}
把配色設定新增到下列設定檔 (settings.json) 區段:
{
  "schemes":
  [
    {
      "name": "Ayu Mirage",
      "black": "#191e2a",
      "red": "#ed8274",
      "green": "#a6cc70",
      "yellow": "#fad07b",
      "blue": "#6dcbfa",
      "purple": "#cfbafa",
      "cyan": "#90e1c6",
      "white": "#c7c7c7",
      "brightBlack": "#686868",
      "brightRed": "#f28779",
      "brightGreen": "#bae67e",
      "brightYellow": "#ffd580",
      "brightBlue": "#73d0ff",
      "brightPurple": "#d4bfff",
      "brightCyan": "#95e6cb",
      "brightWhite": "#ffffff",
      "background": "#1f2430",
      "foreground": "#cbccc6",
      "selectionBackground": "#33415e",
      "cursorColor": "#ffcc66"
    }
  ]
}
新增完後,可以選擇修改預設色彩配置,或是只修改某個 profile 的色彩配置。這裡以修改預設配置為例:
安裝字體
接下來要安裝 patch 過的字體,提供更美觀的字體及豐富的圖示。
到 Nerd Fonts 選擇一個你喜歡的字體,然後下載下來並安裝。例如我選擇的是 patch 過的 JetBrains Mono。建議選擇有完整 monospace 的字體,因為後續終端機圖案顯示會有影響。
接著修改 Windows Terminal 字體設定。例如我採用 JetBrainsMono Nerd Font Mono:
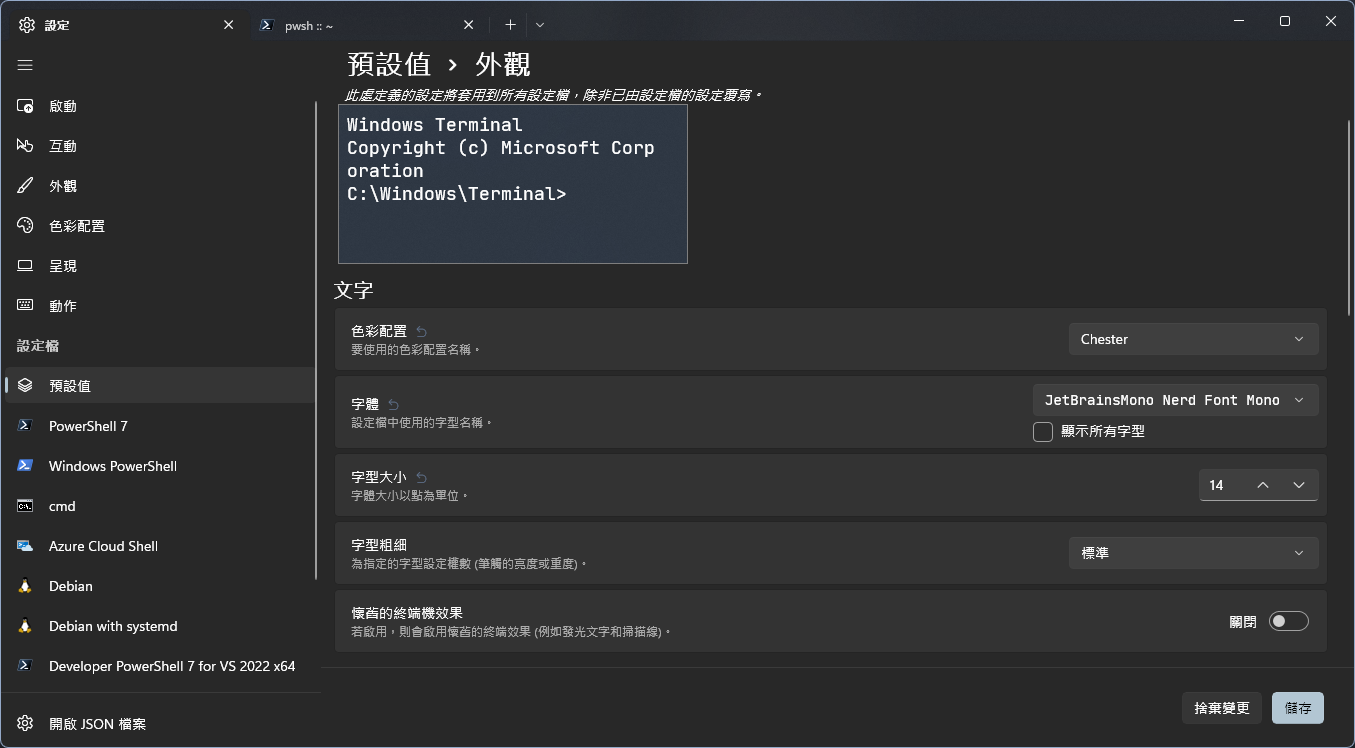
你也可以順便把外觀其他選項調一調,例如字體大小。
安裝 Oh My Posh
參考 https://ohmyposh.dev/docs/installation/windows
安裝 Oh My Posh 本體:
scoop install https://github.com/JanDeDobbeleer/oh-my-posh/releases/latest/download/oh-my-posh.json
安裝 PowerShell Modules
說明安裝哪些 PowerShell 模組,你可以到 PowerShell Gallery 尋找更多 modules。
其他注意事項:
- 下列執行範例會裝給所有人使用,如果要限定只安裝給當前使用者使用,增加參數
-Scope CurrentUser。 - 如果安裝時不想再三確認,則新增參數
-Force。 - 如果想要使用 prerelease 版,新增參數
-AllowPrerelease。
安裝 oh-my-posh module
Install-Module -Name oh-my-posh
若要更新 Oh My Posh module,執行下列命令:
Update-Module oh-my-posh
安裝 Terminal-Icons module
Install-Module -Name Terminal-Icons
安裝 PSReadLine module
Install-Module -Name PSReadLine
安裝 posh-git module
Install-Module -Name posh-git
調整 PowerShell profile
輸入下列命令修改你的 PowerShell profile,避免每次啟動都要重新設定,使用任何一款你順手的文字編輯工具修改 profile。例如使用 Visual Studio Code (有安裝命令列工具整合):
code $PROFILE
下列是我個人使用的 profile,供參考:
Import-Module oh-my-posh
Import-Module posh-git
Import-Module PSReadLine
Import-Module Terminal-Icons

Set-PoshPrompt -Theme slimfat

Set-PSReadlineKeyHandler -Key Tab -Function Complete
Set-PSReadlineKeyHandler -Key Tab -Function MenuComplete
Set-PSReadLineKeyHandler -Key "Ctrl+z" -Function Undo

Set-PSReadLineOption -PredictionSource History
Set-PSReadLineOption -PredictionViewStyle ListView
這個 profile 作用如下:
- 每次啟動 pwsh 時,會自動載入
Import-Module那些 module,接著用Set-PoshPrompt修改 PowerShell 佈景主題為slimfat,佈景主題可到 Oh My Posh Themes 搜尋你偏好的樣式。 - 透過
PSReadLine提供的功能去修改熱鍵。- 自動完成用
Tab鍵。 Ctrl+Z按下去是執行復原 (Undo)。
- 自動完成用
- 命令預測改成條列檢視。
設定完後,可把 Terminal 關掉重開,或直接輸入 . $PROFILE 重新載入 profile,參考截圖:

參考
- Will 保哥 (2021), 如何打造一個華麗又實用的 PowerShell 命令輸入環境, https://blog.miniasp.com/post/2021/11/24/PowerShell-prompt-with-Oh-My-Posh-and-Windows-Terminal